# Create Test Cases
A Test Case can be created by selecting source and target datasets, comparing them using four comparisons, and subsequently saving and executing the test case.
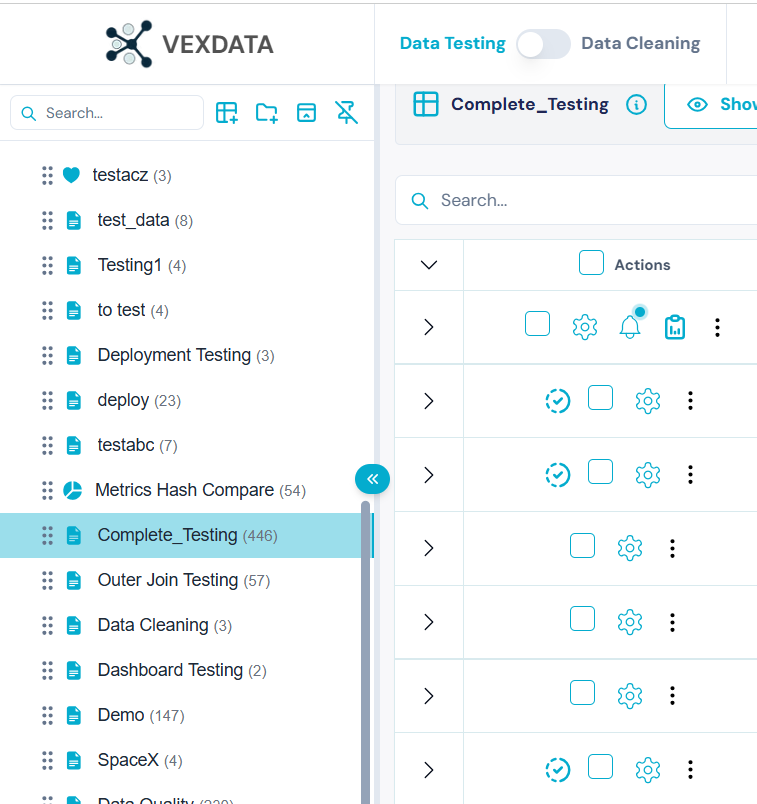
Select a project by clicking on the project.
**Select Test Case Type -** Select any Test Case you need and on Selecting it will navigate you to the Source Datasets section.
## Save the test case
With the new UI, test cases are now **automatically saved** as users make changes—removing the need for manual saving.
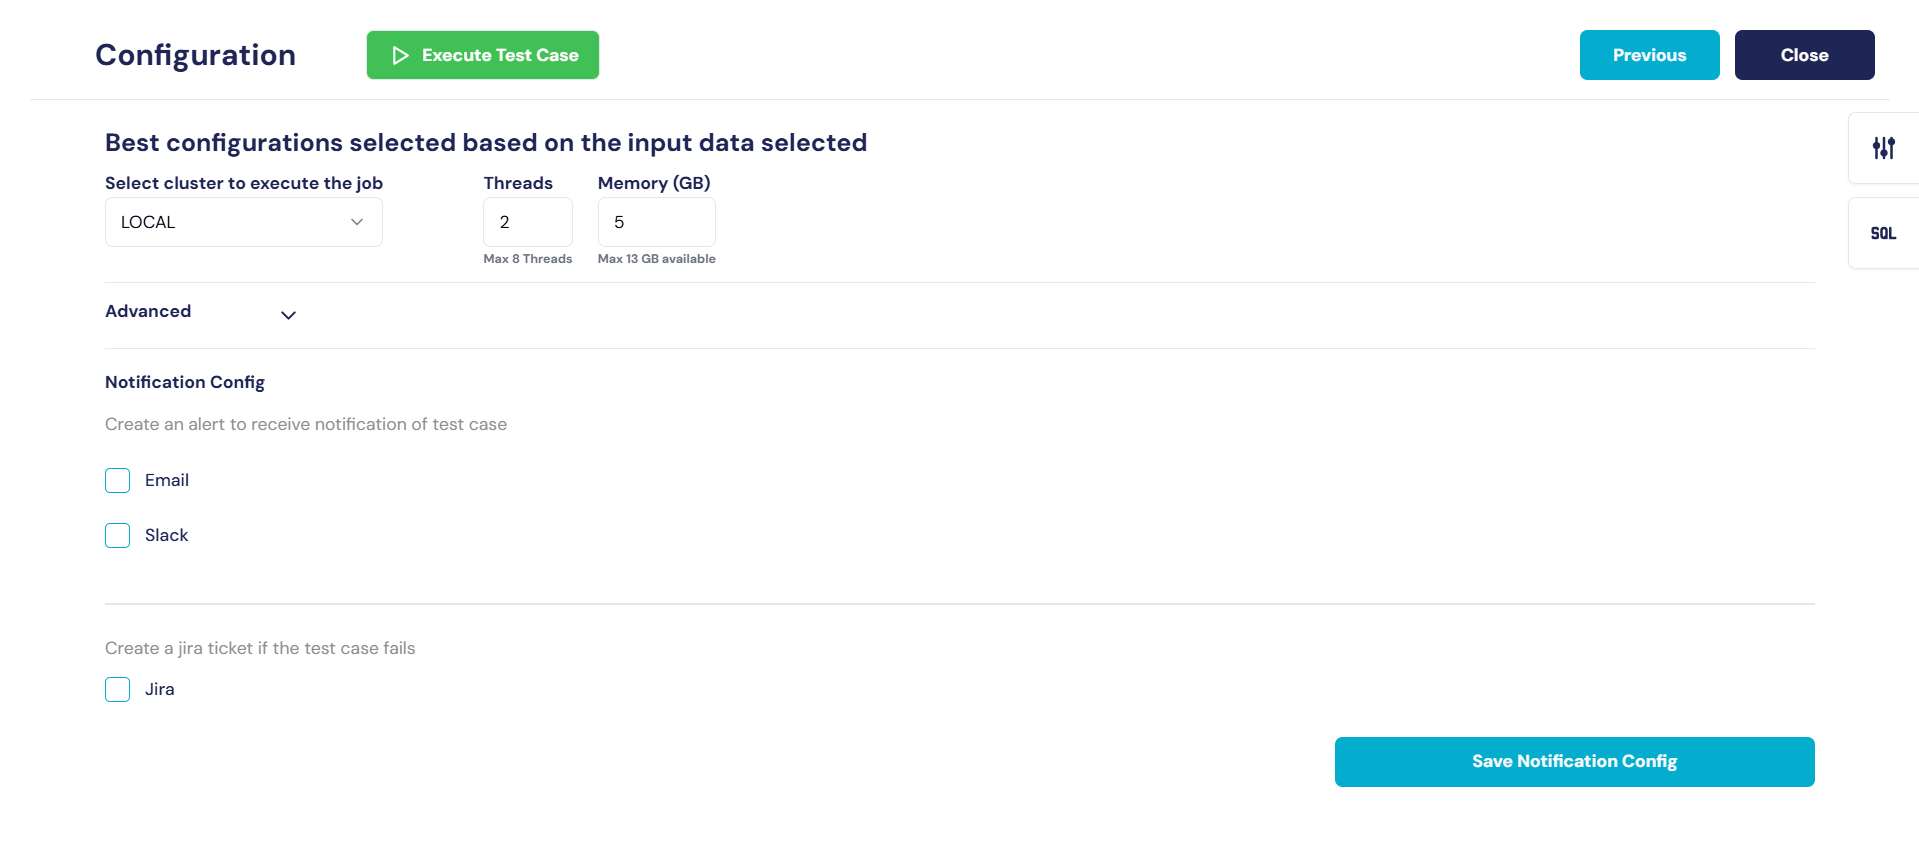
## Execute the test case.
After Saving the test case, click on the "Execute" to start execution of the test case.